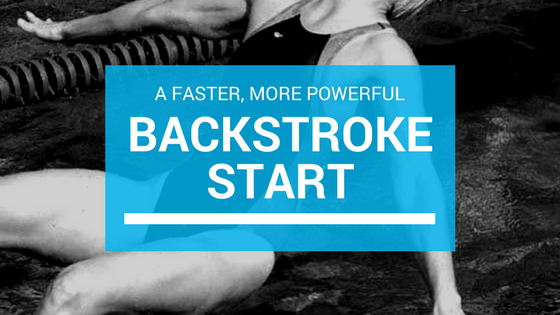
Unconventional Backstroke Start
Racing starts can vary from swimmer to swimmer, but there is one constant: the desire to start the race as fast as possible. Based on biomechanics, we’ve got a take on the backstroke start that you may not have seen before. When executed correctly, this small change helps swimmers begin their race with maximum propulsive force.
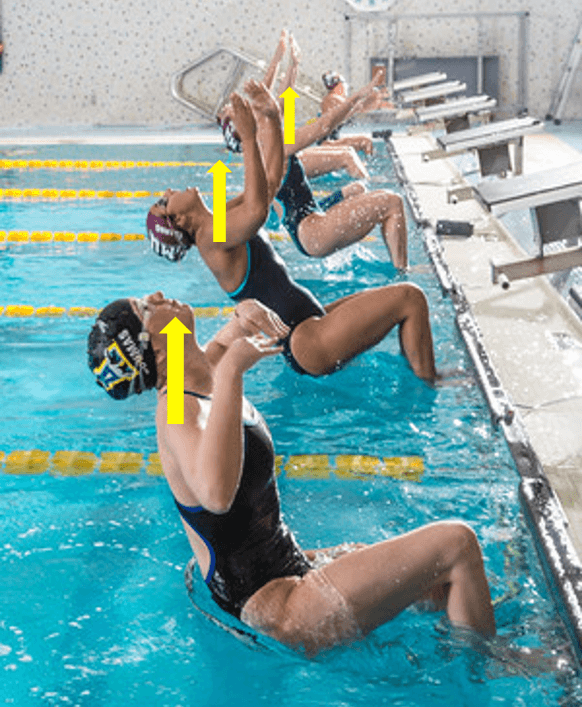
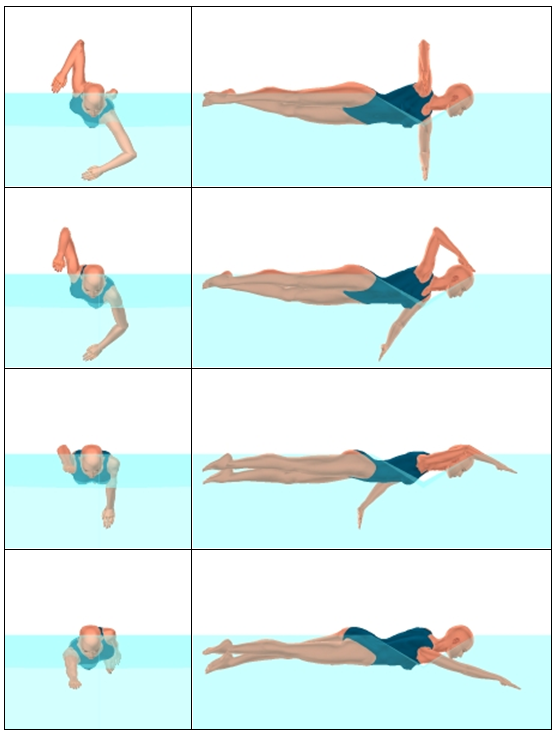
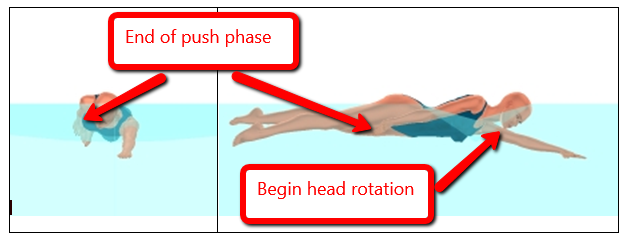
Swimmers typically swing their arms above their shoulders on a backstroke start. This motion causes the swimmer to distribute force at a more downward angle on the wall—sometimes even causing feet to slip.
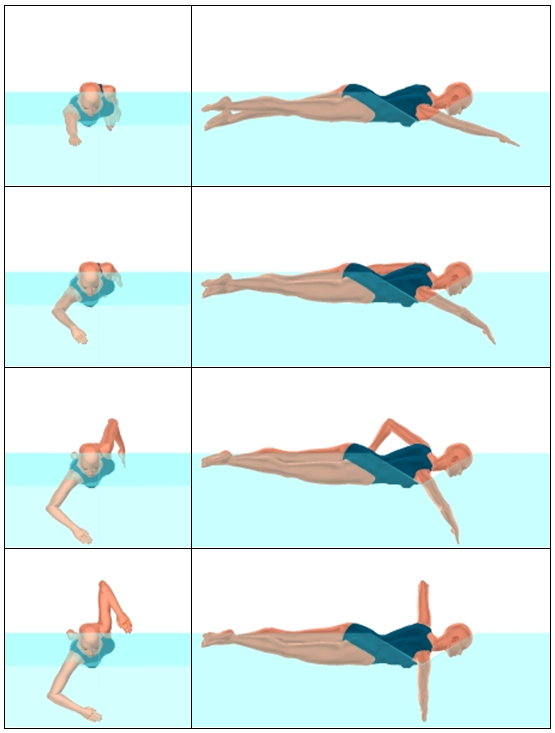
A swimmer will have less chances of having the feet slip on the wall and will be better able to generate propulsive force if the arms swing back below the shoulders and into a streamline.
 vs.
vs. 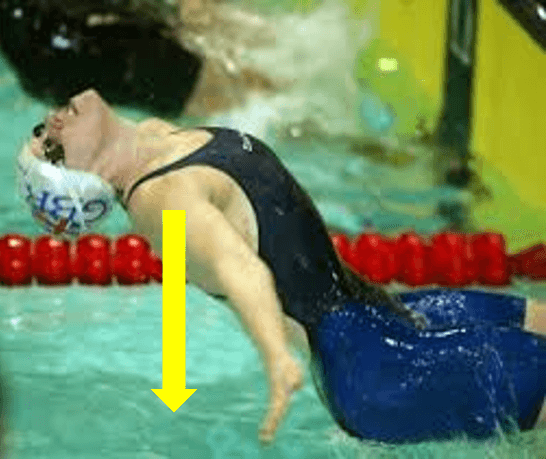
Give it a try on your next backstroke start!